Installation
This section will teach you how to get the Hyperdrive software, required to run a live node. After acquiring the software, you can learn how to run it and Join the Network.
- If you are just interested in starting development as fast as possible, skip to My First Hyperware Application.
- If you want to run a node without managing it yourself, use the Valet hosted service.
- If you want to make edits to the Hyperdrive software, see Build From Source.
Option 1: Download Binary (Recommended)
Hyperware distributes pre-compiled binaries of the in-house runtime, Hyperdrive, for MacOS and Linux Debian derivatives, like Ubuntu.
First, get the software itself by downloading a precompiled release binary.
Choose the correct binary for your particular computer architecture and OS.
There is no need to download the simulation-mode binary — it is used behind the scenes by kit.
Extract the .zip file: the binary is inside.
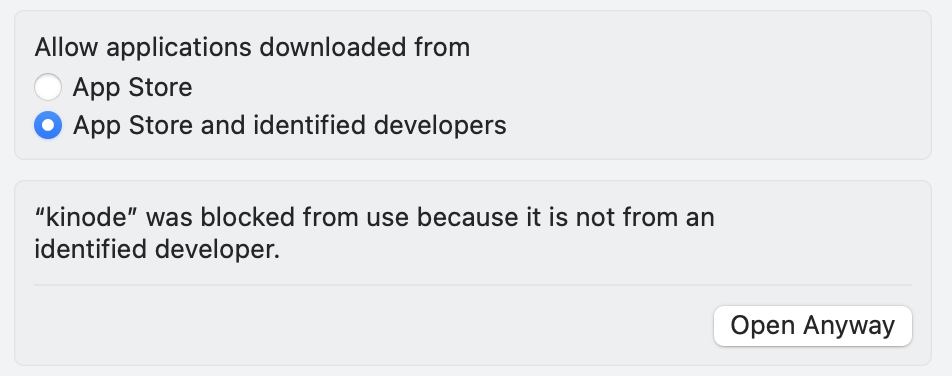
Note that some operating systems, particularly Apple, may flag the download as suspicious.
Apple
First, attempt to run the binary, which Apple will block.
Then, go to System Settings > Privacy and Security and click to Open Anyway for the hyperdrive binary:
Option 2: Docker
Hyperdrive can also be run using Docker. MacOS and Debian derivatives of Linux, like Ubuntu, are supported. Windows may work but is not officially supported.
Installing Docker
First, install Docker. Instructions will be different depending on your OS, but it is recommended to follow the method outlined in the official Docker website.
If you are using Linux, make sure to perform any post-install necessary afterwards. The official Docker website has optional post-install instructions.
Docker Image
The image expects a volume mounted at /hyperdrive-home.
This volume may be empty or may contain another nodes data.
It will be used as the home directory of your node.
Each volume is unique to each node.
If you want to run multiple nodes, create multiple volumes.
The image includes EXPOSE directives for TCP port 8080 and TCP port 9000.
Port 8080 is used for serving the Hyperdrive web dashboard over HTTP, and it may be mapped to a different port on the host.
Port 9000 is optional and is only required for a direct node.
If you are running a direct node, you must map port 9000 to the same port on the host and on your router.
Otherwise, your node will not be able to connect to the rest of the network.
Run the following command to create a volume:
# Replace this variable with your node's intended name
export NODENAME=helloworld.os

docker volume create hyperdrive-${NODENAME}
Then run the following command to create the container.
Replace hyperdrive-${NODENAME} with the name of your volume if you prefer.
To map the port to a different port (for example, 80 or 6969), change 8080:8080 to PORT:8080, where PORT is the post on the host machine.
docker run -p 8080:8080 --rm -it --name hyperdrive-${NODENAME} \
    --mount type=volume,source=hyperdrive-${NODENAME},destination=/hyperdrive-home \
    nick1udwig/hyperdrive
which will launch your Hyperdrive container attached to the terminal. Alternatively, you can run it detached:
docker run -p 8080:8080 --rm -dt --name hyperdrive-${NODENAME} \
    --mount type=volume,source=hyperdrive-${NODENAME},destination=/hyperdrive-home \
    nick1udwig/hyperdrive
Check the status of your Docker processes with docker ps.
To start and stop the container, use docker start hyperdrive-${NODENAME} or docker stop hyperdrive-${NODENAME}.
As long as the volume is not deleted, your data remains intact upon removal or stop. If you need further help with Docker, access the official Docker documentation here.
Option 3: Build From Source
You can compile the binary from source using the following instructions. This is only recommended if:
- The pre-compiled binaries don't work on your system and you can't use Docker for some reason, or
- You need to make changes to the Hyperdrive source.
Acquire Dependencies
If your system doesn't already have cmake and OpenSSL, download them:
Linux
sudo apt-get install cmake libssl-dev
Mac
brew install cmake openssl
Acquire Rust and various tools
Install Rust and some cargo tools, by running the following in your terminal:
curl --proto '=https' --tlsv1.2 -sSf https://sh.rustup.rs | sh
cargo install wasm-tools
rustup target add wasm32-wasip1
For more information, or debugging, see the Rust lang install page.
Hyperdrive and Wasm processes use the stable build of Rust.
You will want to run the command rustup update on a regular basis to keep your version of the language current, especially if you run into issues compiling the runtime down the line.
You will also need to install NPM in order to build the Wasm processes that are bundled with the core binary.
Acquire Hyperdrive
Clone and set up the repository:
git clone --recurse-submodules https://github.com/hyperware-ai/hyperdrive.git
Build the packages that are bundled with the binary:
cargo run -p build-packages
Build the binary:
# OPTIONAL: --release flag
cargo build -p hyperdrive
The resulting binary will be at path target/debug/hyperdrive.
(Note that this is the binary crate inside the hyperdrive workspace.)
You can also build the binary with the --release flag.
Building without --release will produce the binary significantly faster, as it does not perform any optimizations during compilation, but the node will run much more slowly after compiling.
The release binary will be at path target/release/hyperdrive.